The custom plan builder is ideal for businesses that need more flexibility when setting up membership plans, e.g. custom time frames, multiple service selection, credits and expiry options.
How to create a membership plan using the Custom Plan Builder:
- Under SETTINGS, go to PLANS
- Click on “+ NEW” to add a new plan
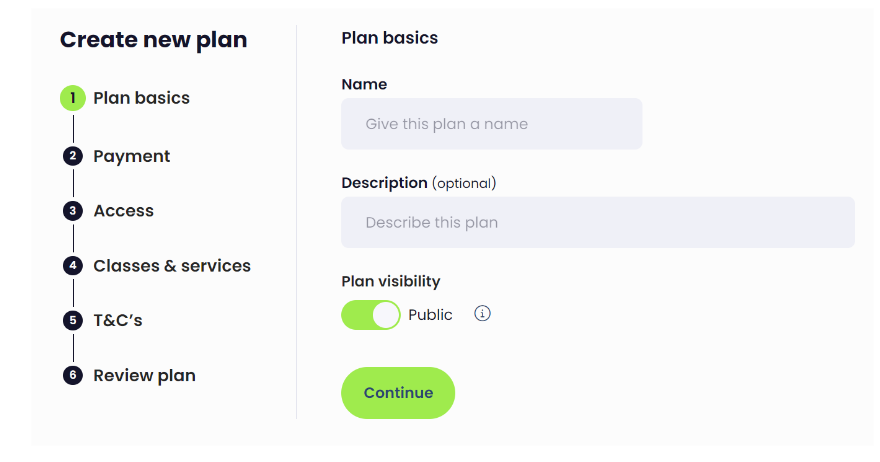
Fill out the plan basics:
- Enter in the name of the plan, e.g. Boxership Monthly
- Enter a description of the plan, e.g. Full use of boxing facility and 8 non-transferable PT sessions per month
- Plan visibility: Toggle to Private or Public
Private = The plan is not publicly visible and can only be shared privately for booking
Public = The plan is visible for anyone to book via an app, website, landing page, etc
(A URL will be generated for the plan when completed)
A Trial Plan carries certain visibility restrictions:
-
A Trial Plan can only be shared to the public via the plan specific link if that plan is made public.
-
A Trial Plan will not appear in the standard plan list from the member registration link or app.
- 4. Click continue
Enter the plan’s payment details:
- Fee schedule: Choose an option that suits your plan best or select “custom” to configure your own
- Term Length: Enter a term length for when you’d like payment to be debited
- Contract Length (number of terms): Enter how long your plan lasts for, e.g. if it’s a yearly membership, enter 12 months. If you have chosen the custom fee schedule, here you can also select whether you want the contract to auto-renew or not
- If a plan is to be sold via a non digital payment method such as CASH, EFTPOS, Bank Transfer and Complimentary, the plan payment schedule has to be set to be non auto renew using one of the following payment methods:
- once off - fixed term pack
- once off - trial plan
- custom but no auto renew term, no contract length and no auto renew contract.
- Plan fee: Enter how much your plan costs
- Join fee (optional): Enter in a joining fee if applicable
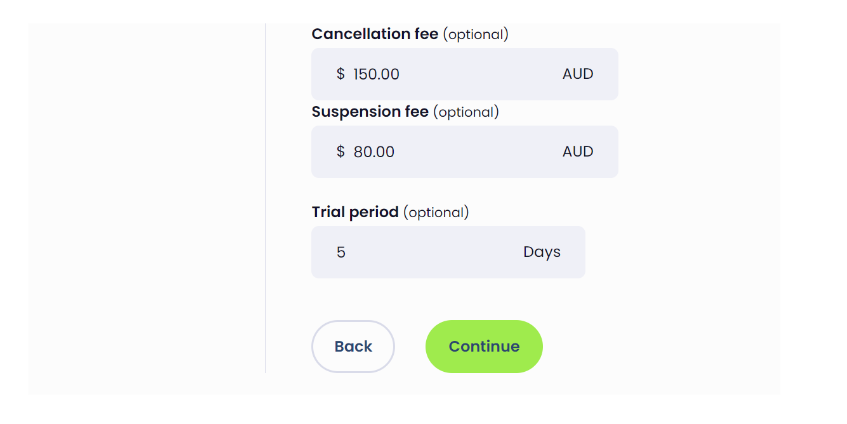
- Cancellation fee (optional): Enter in a cancellation fee if applicable
- Suspension fee (optional): Enter in a suspension fee if applicable
- Trial period (optional): Enter in a trial period if applicable. The membership plan will be debited following this period
- Click continue

Customise access to your facility:
- 24 hours/ 7 days: Provide full access to your facility
- Class and service time only: Access only during operating hours
- Custom schedule: Customise your plan’s schedule on a daily basis, e.g. off-peak use.
Add classes and/or services that make up your plan:
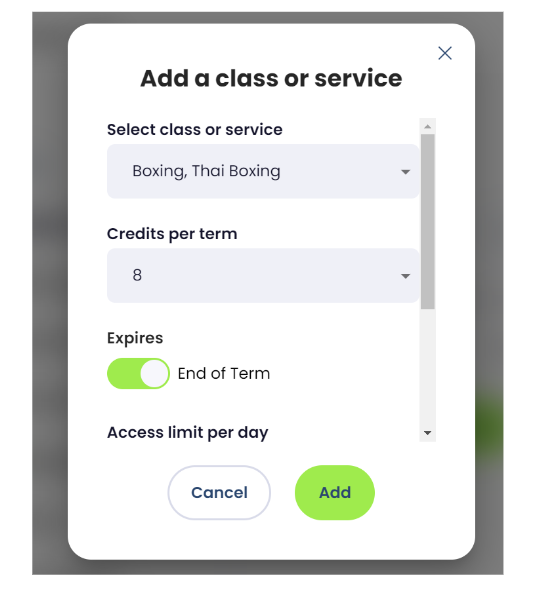
- Click on “+ Add” to open up your classes & services selection
- Select class or service: Click on one or more classes or services to add to your plan
- Credits per term: Select how many times a client may use these services in the space of a term
- Expires: Toggle to select the expiry of credits; End of term, or Never
- Access limit per day: Select how often a client can access your premises within a day
- Access limit per week: Select how often a client can access your premises within a week
- Click add to complete
N.B. You can repeat this process to add more classes and services to your plan with separate credits and limits
- 8. Click continue
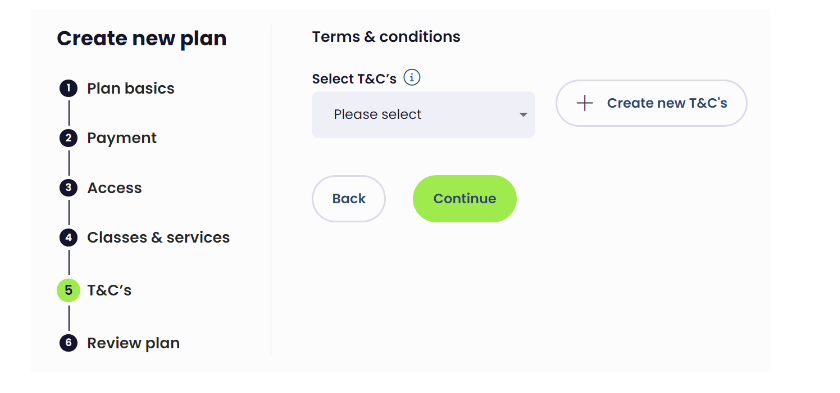
Add terms and conditions to your plan:
- Select T&C’s: Select a pre-existing T&C form from your profile settings. Any form you select will have the option to be edited at this stage should you wish to.
- “+ Create new T&C’s: Click to enter in a new T&C form specific to this plan
- Click continue
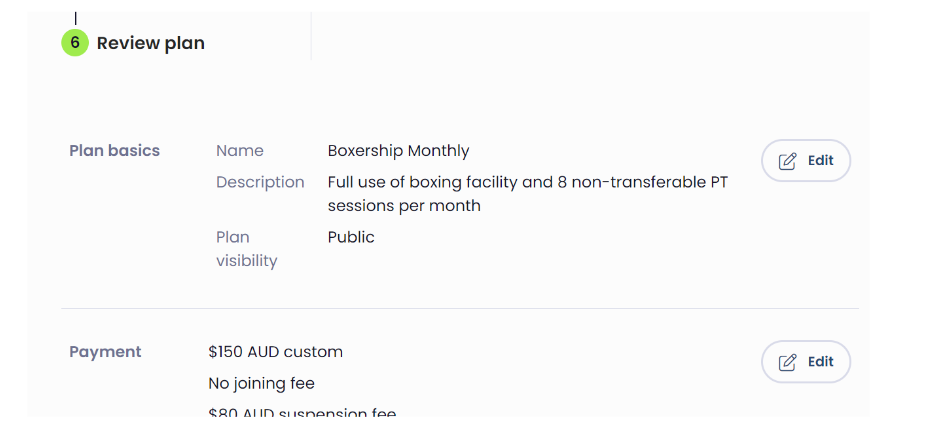
 Review your plan:
- Finally, review all the information you have selected and edit any sections that need revision
- Click finish
View your new plan under your plans list
- Your new plan will now be visible in alphabetical order under your plans list in settings
- The icons allow you to overview whether your plan is public or private and currently active
- Click on the share icon to generate a URL of the plan, which you can send to personal clients if private, or publish on apps and web pages if public
- Click on the edit button if you wish to edit the plan at any time

Apply to existing members (default to yes)

When a V1 Plan has the Plan Start date / Launch date set, the plan will charge all members buying that plan on the same future date (all delayed charges) but the credits will be activated for the member immediately to allow them to do pre-booking:
- All members on a plan with launch/start date set will not pay until the same future date - being the launch date.
- These members are allowed to pre-book with their advanced credits being activated immediately.
When a V1 Plan such as once-off fixed term pack or once-off trial plan is using the setting of Start from First Visit, the plan has to be charged immediately and cannot be delayed:
- Charges immediately.
- but the credits are only activated to start expiring from the session date of the 1st booked session (if the booking is cancelled, that expiry date will not change).
